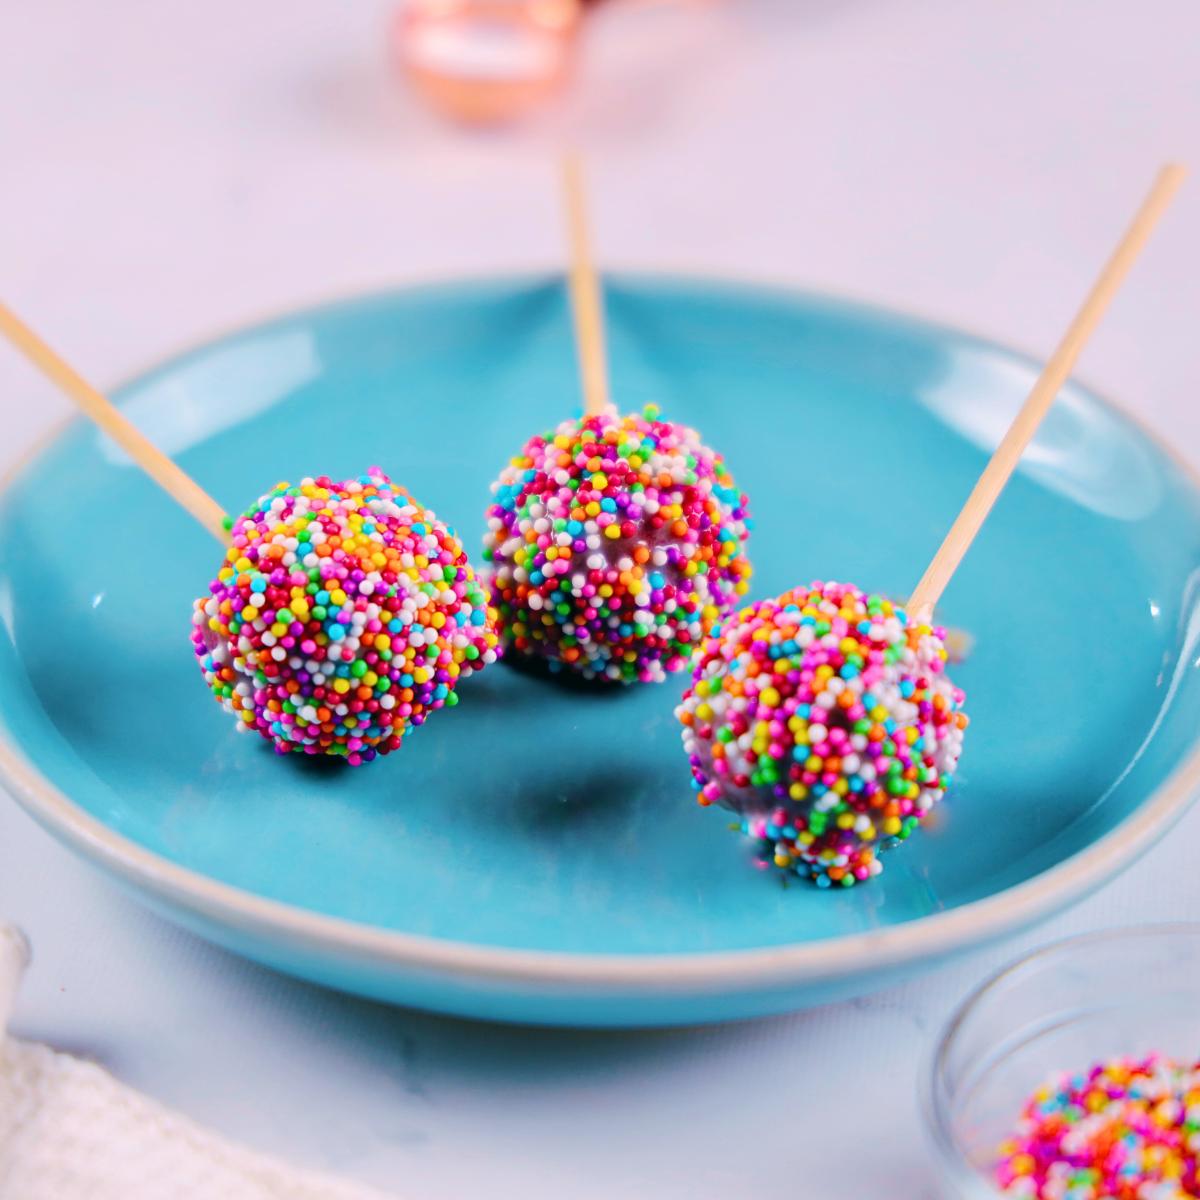
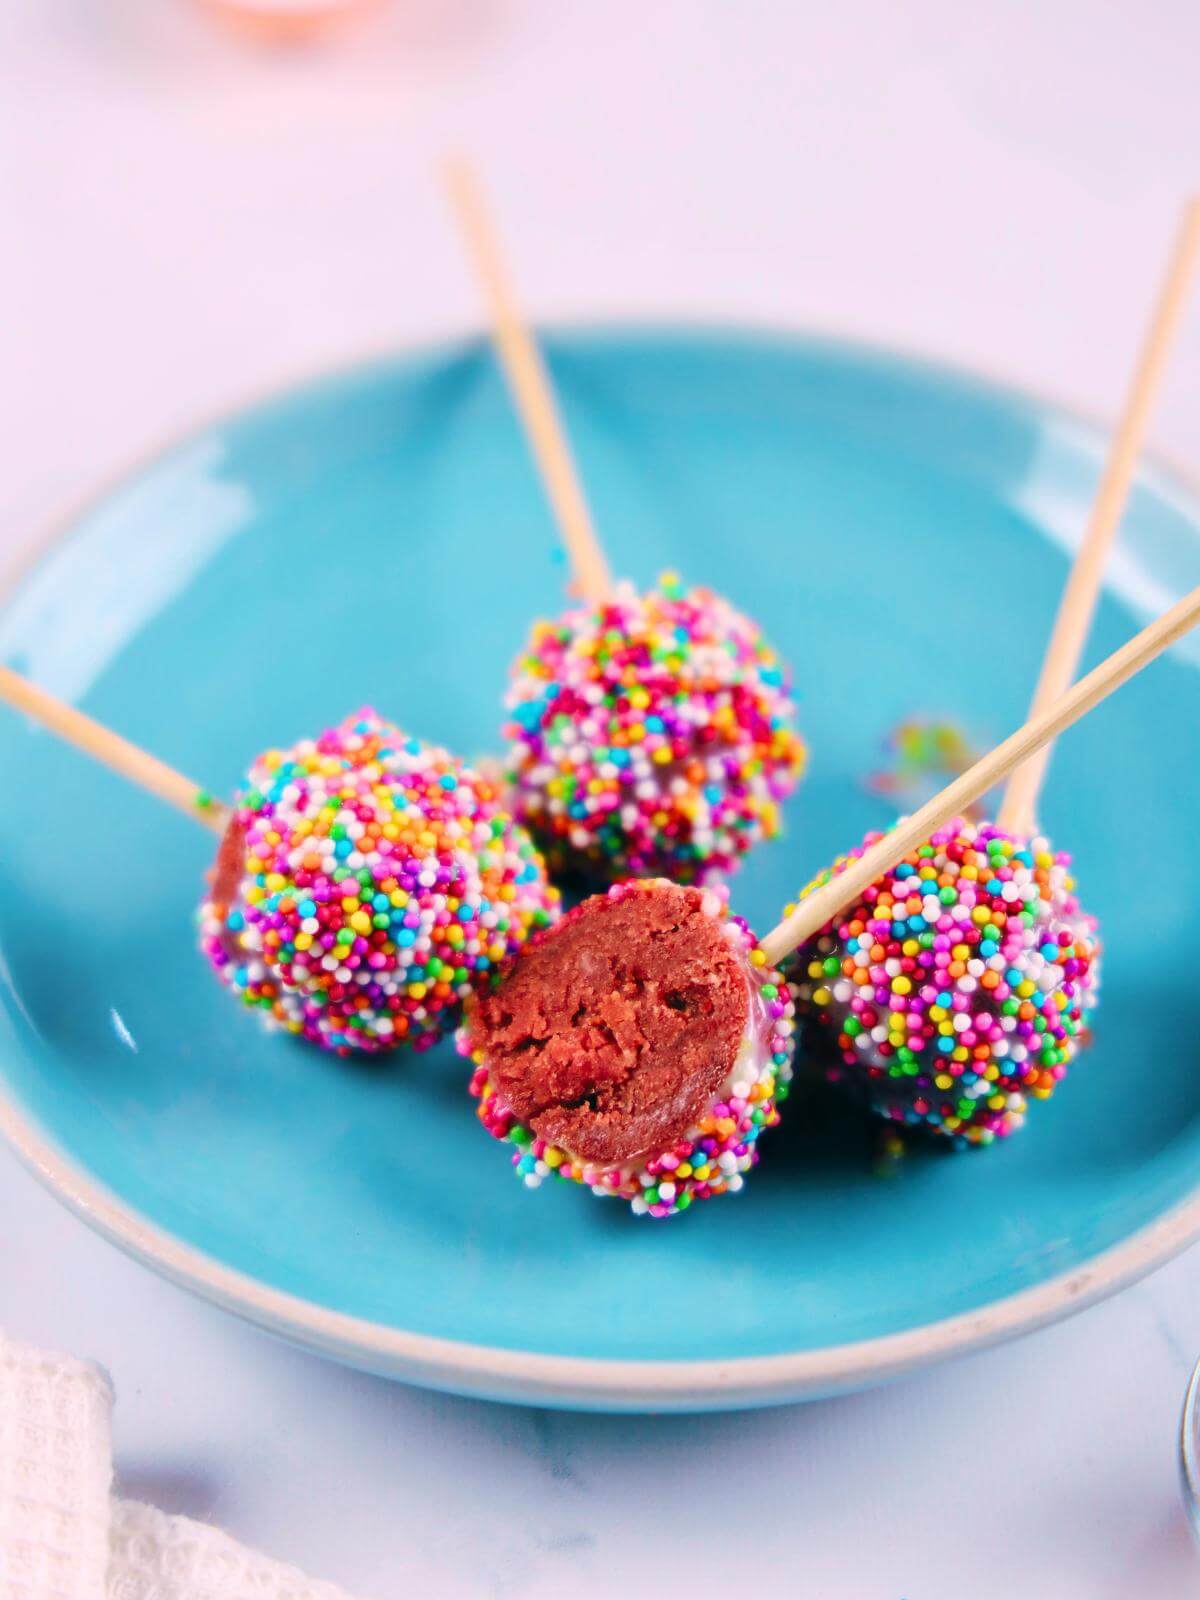
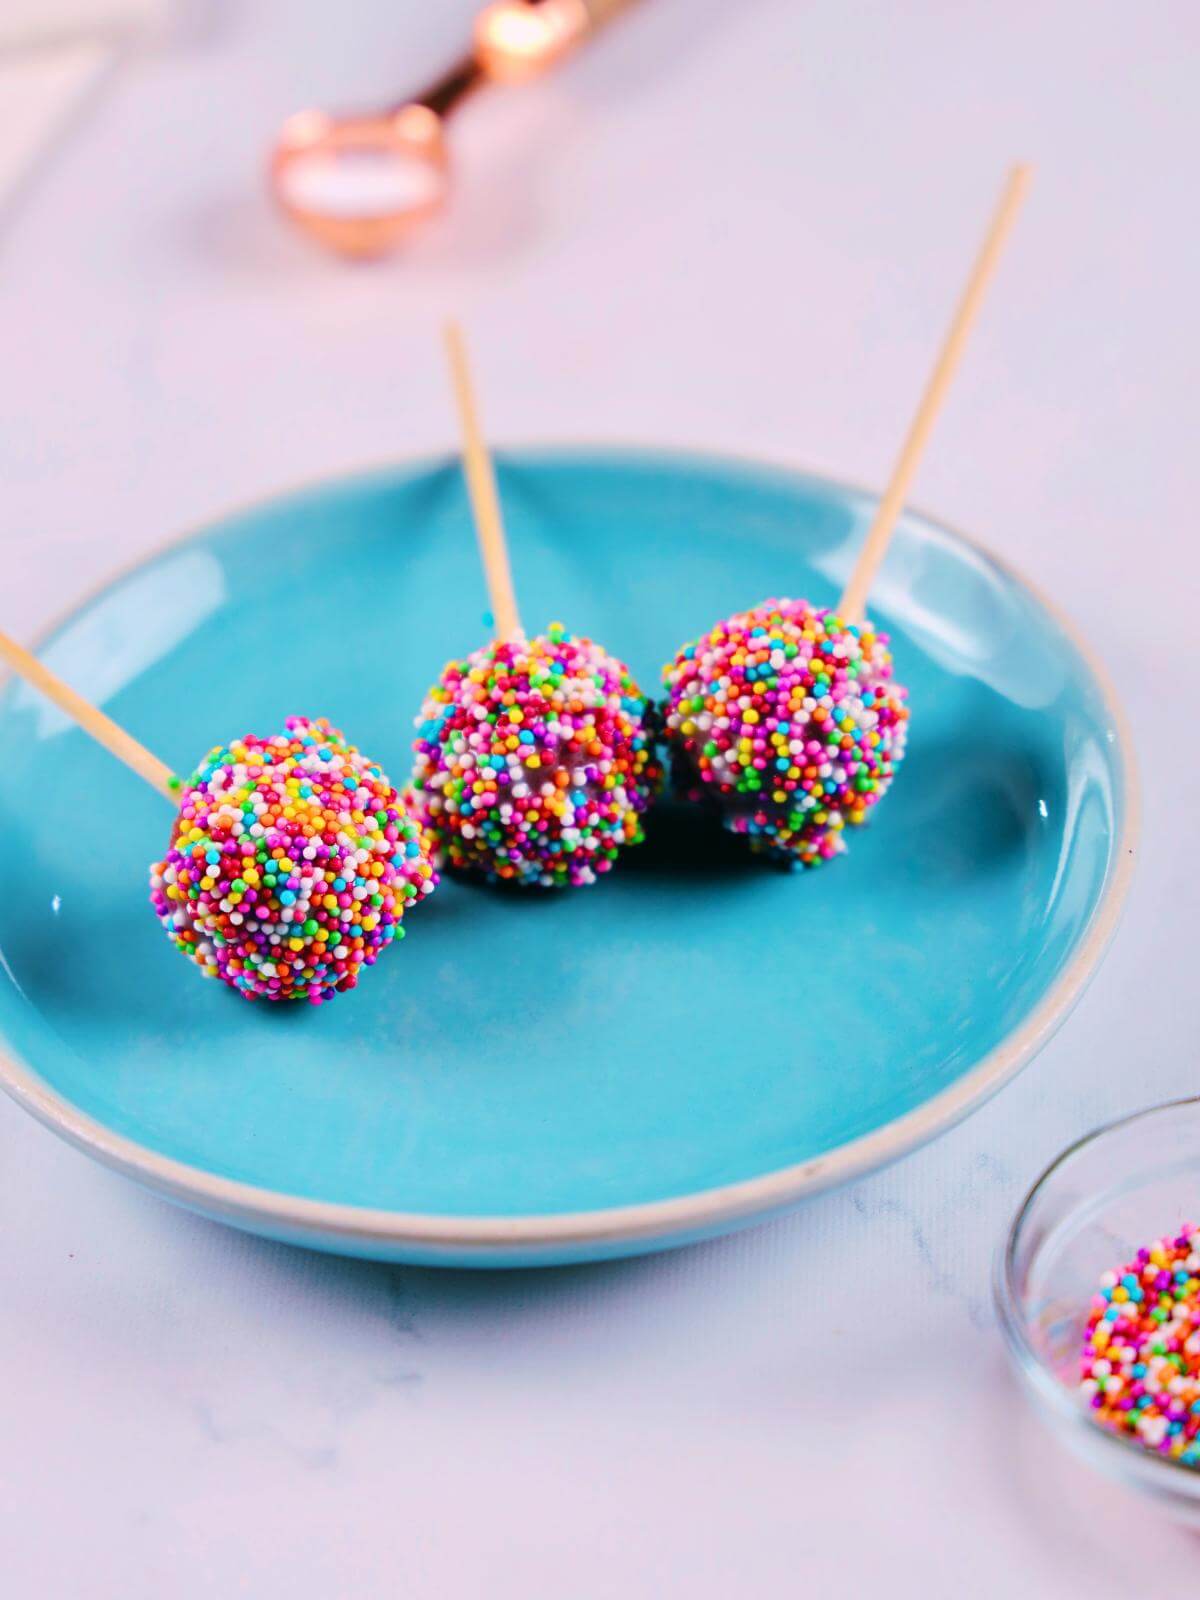
Gluten & Dairy Free Red Velvet Cake Pops for Valentine’s Day
Treat yourself to these adorably yummy red velvet cake pops—a fun dessert perfect for special occasions!
This recipe combines a moist red velvet cake, creamy vanilla frosting, and a luscious white chocolate coating.
They’re easy to make and a great choice for parties, Valentine’s Day, or anytime you want to impress your guests with a delicious treat.
Quick Info About This Recipe
- Type: Dessert
- Cuisne: American
- Time: 45-60 minutes
- Number of ingredients: 5 to 12 (more if making a homemade cake)
- Diets & Allergens: Gluten Free, Dairy Free and Vegan Contains: tree nuts (can substitute oat milk)
- Equipment needed: Prepared baking dish, electric hand mixer, cake pop sticks
You’ll Also Love This
If you’re looking for more great party recipes, you will also love our easy corn dip recipe!
We may receive a small commission on certain products or services mentioned in this post. Please read our full Disclosure Policy for more information.
Helpful Product Links for This Recipe
- King Arthur Measure for Measure Gluten-Free Flour
- Earth Balance Vegan Buttery Sticks
- 365 by Whole Foods Market Food Coloring
- 100 Count Cake Pop Sticks
- Portable 5-Speed Mixing Electric Hand Mixer
- Enjoy Life Baking White Chocolate Mini Chips
About the Ingredients
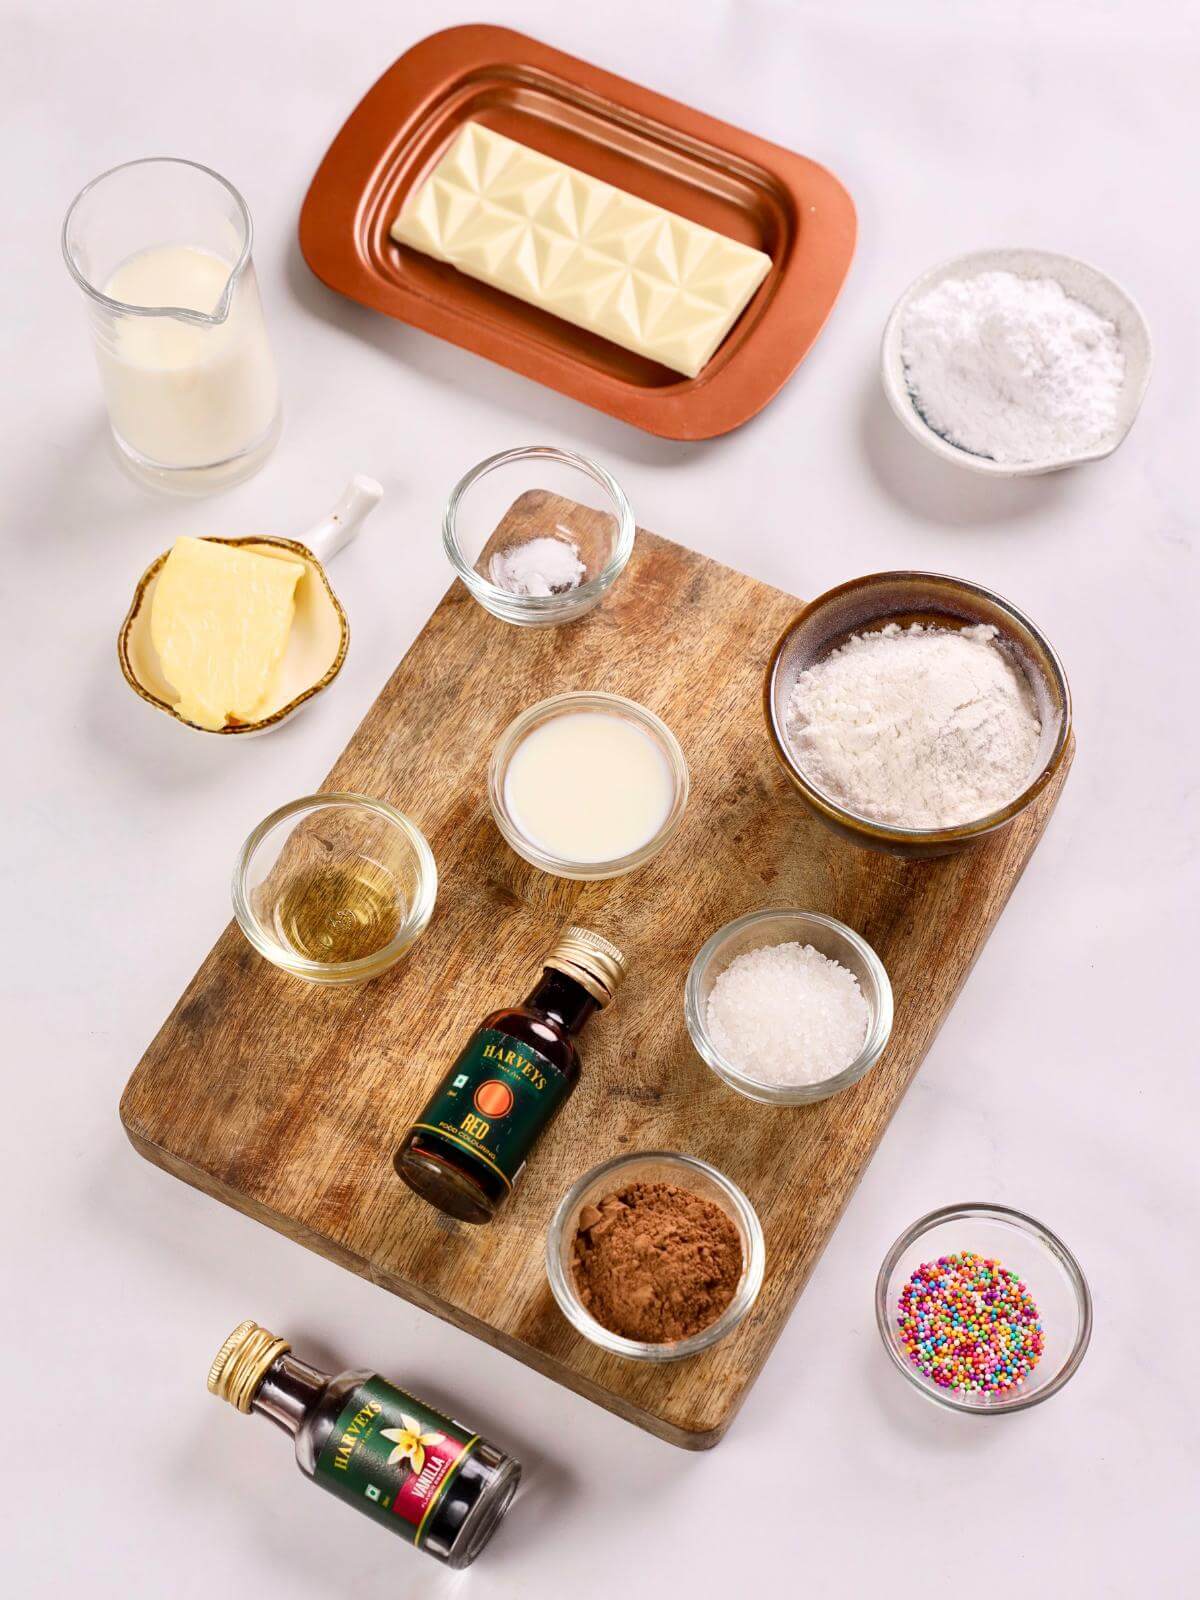
For the Red Velvet Cake:
- Gluten free all-purpose flour – we like to use the King Arthur 1:1 brand.
- Sugar – white granulated sugar works best.
- Cocoa powder – use a good quality one. We prefer organic.
- Baking powder – any brand is fine.
- Milk – we used almond milk.
- Apple cider vinegar – any brand is fine.
- Butter – we used Earth Balance vegan butter (melted).
- Red food coloring – we used 365 by Whole Foods Market plant-based food coloring.
For the Buttercream:
- Powdered sugar – or confectioner’s sugar.
- Butter – we used we used Earth Balance vegan butter (softened).
- Milk – we used almond milk.
- Vanilla extract
For the Cake Pops:
- Prepared red velvet cake – you can use our homemade recipe or store-bought.
- Prepared buttercream – feel free to use our recipe or purchase it from the store for a shortcut.
- Cake pop sticks – for poking into your cake balls.
- White chocolate (melted) – you can use a vegan white chocolate bar or Enjoy Life mini white chocolate baking chips.
- Sprinkles – to garnish (optional).
Be sure to see the printable recipe card below for the full ingredients list with measurements, instructions and tips!
Step By Step Instructions

Make the Cake:
- Preheat your oven to 350°F. Combine all the ingredients in a bowl until the mixture reaches a thick consistency.
- Pour the batter into a greased 9×13 inch pan and bake for 15-20 minutes or until a toothpick inserted in the center comes out clean.
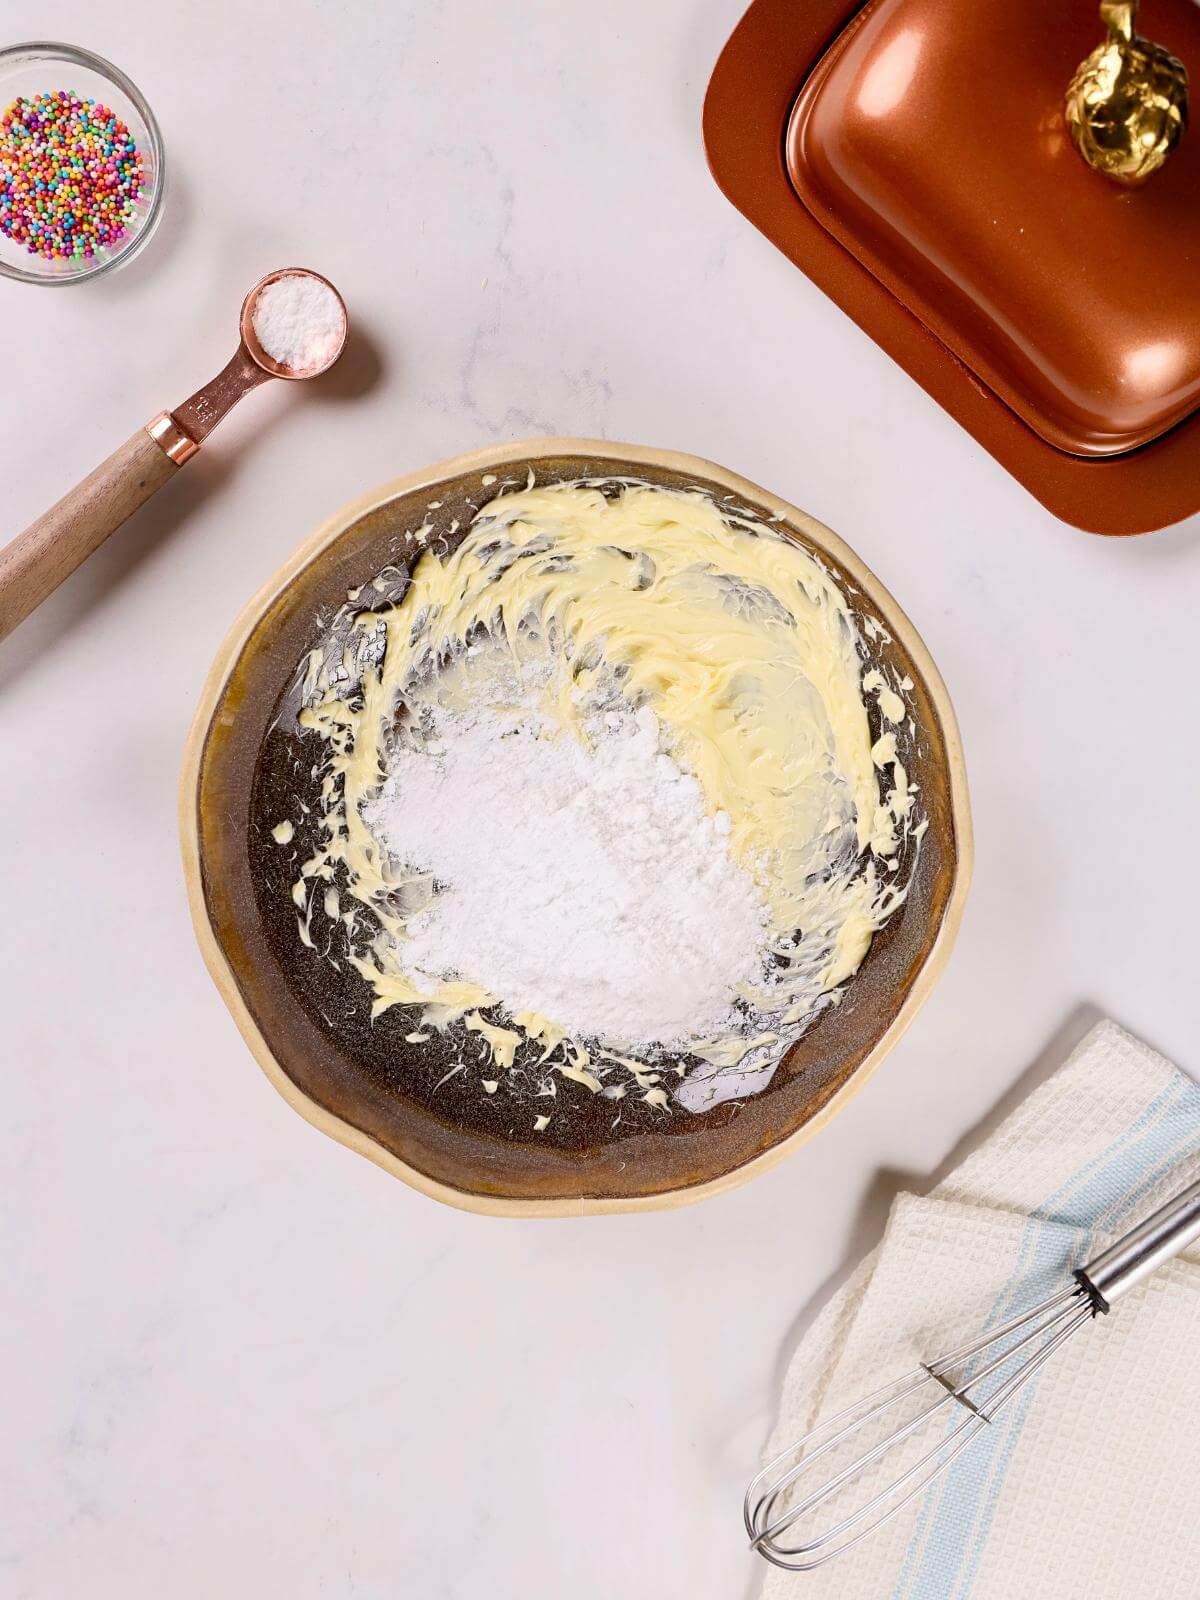
Make the Buttercream:
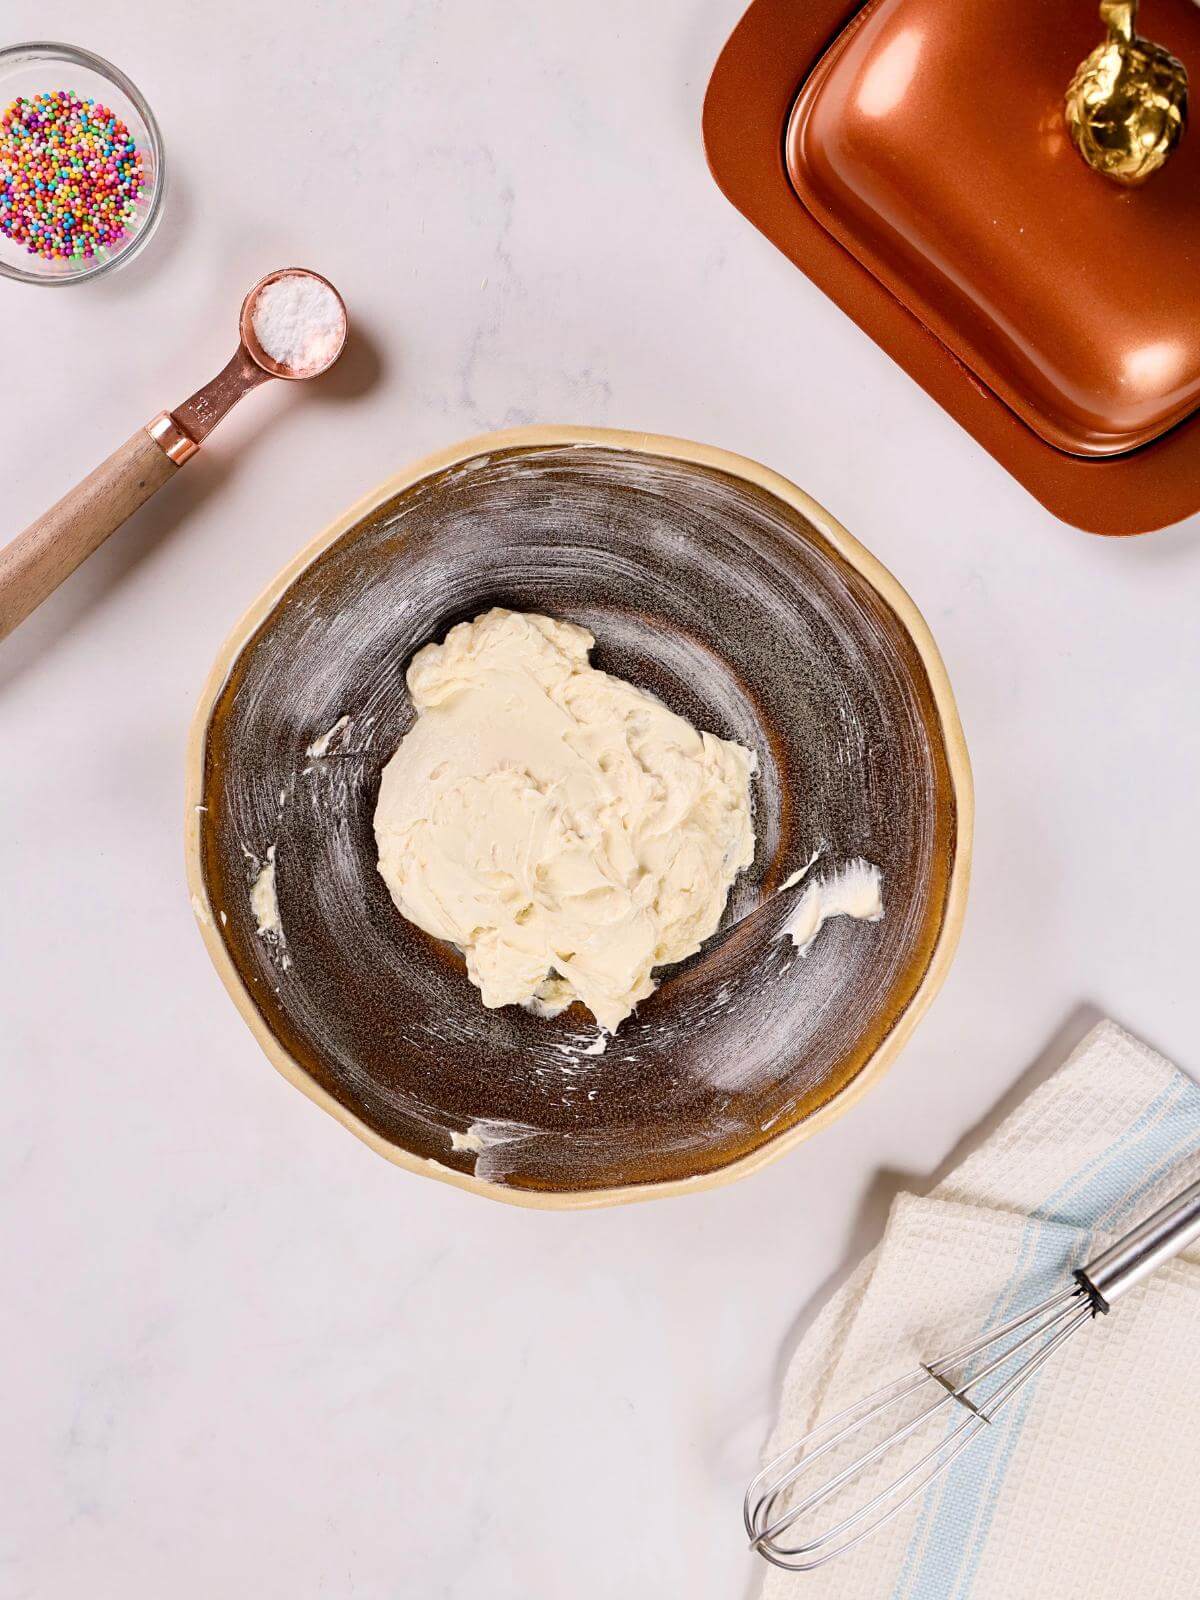
- Use an electric hand mixer to whip the butter in a bowl.
- Gradually add powdered sugar and whip until smooth.
- Mix in the milk and vanilla extract, whisking until the frosting is creamy.
Make the Cake Balls:
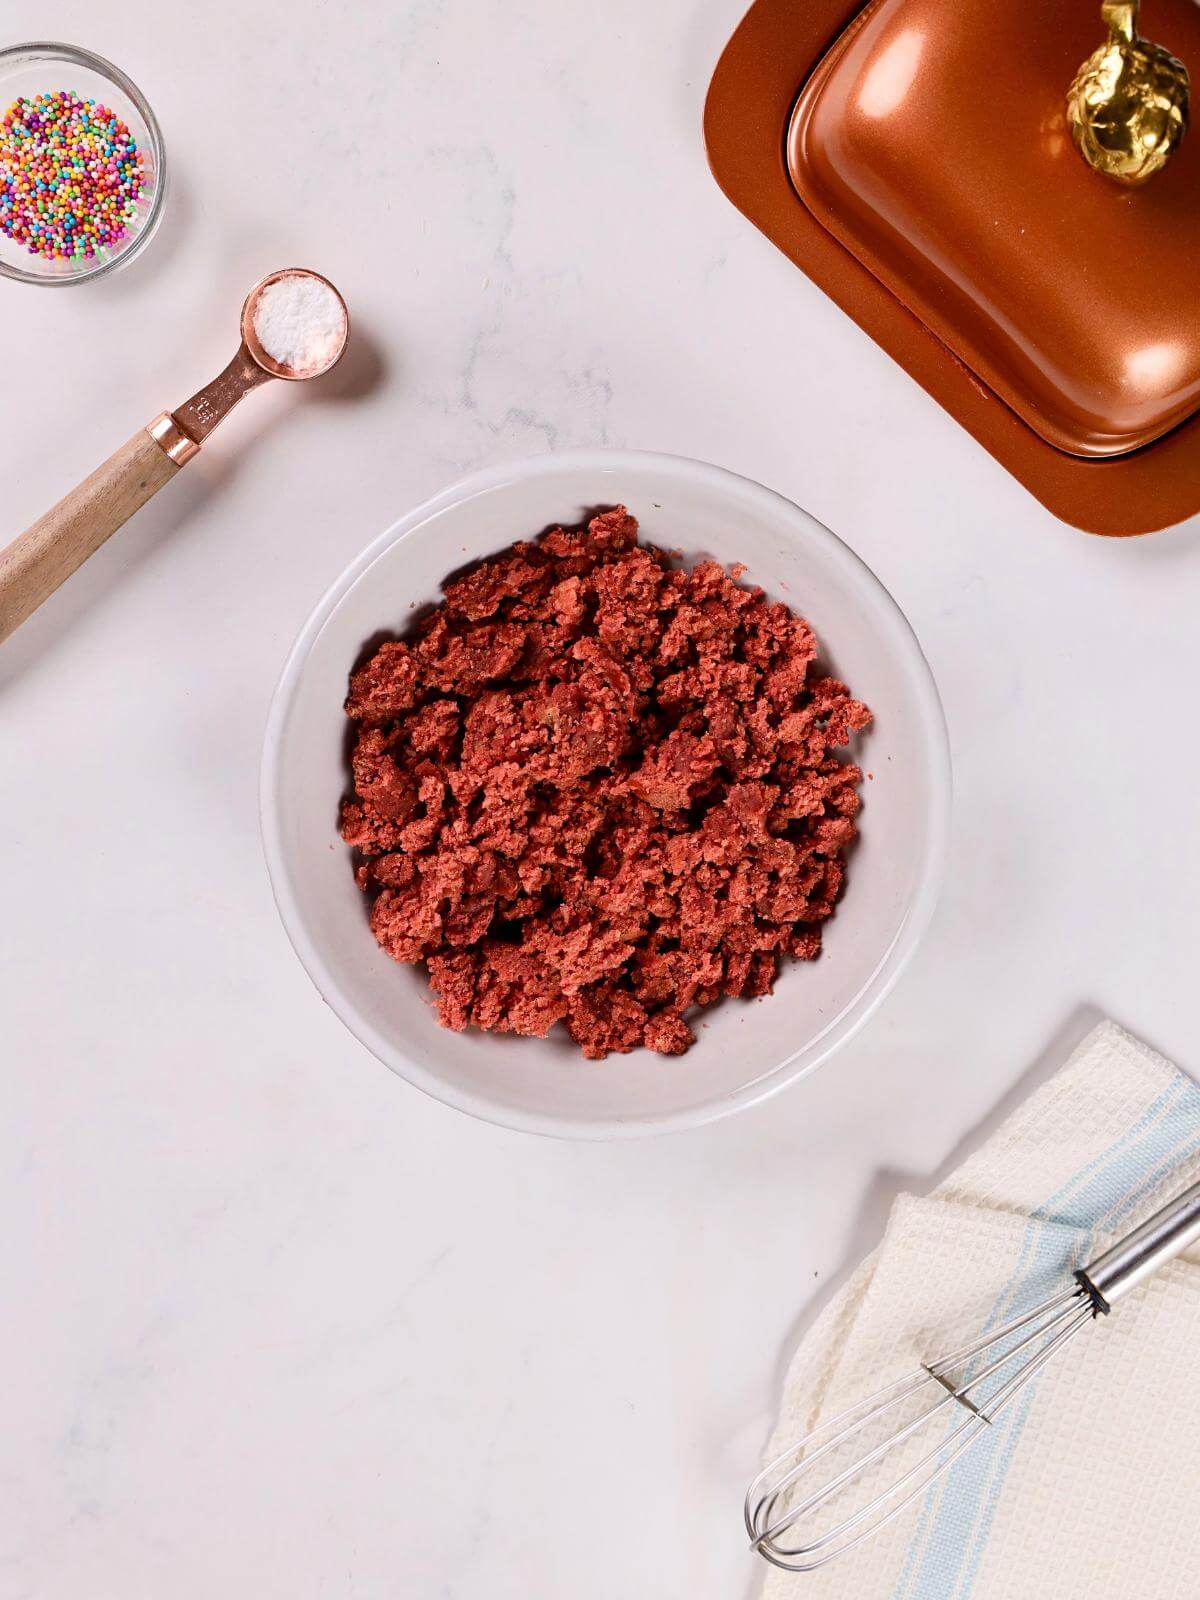
- After the cake is baked, allow it to cool to room temperature.
- Crumble the cooled cake into a large mixing bowl.
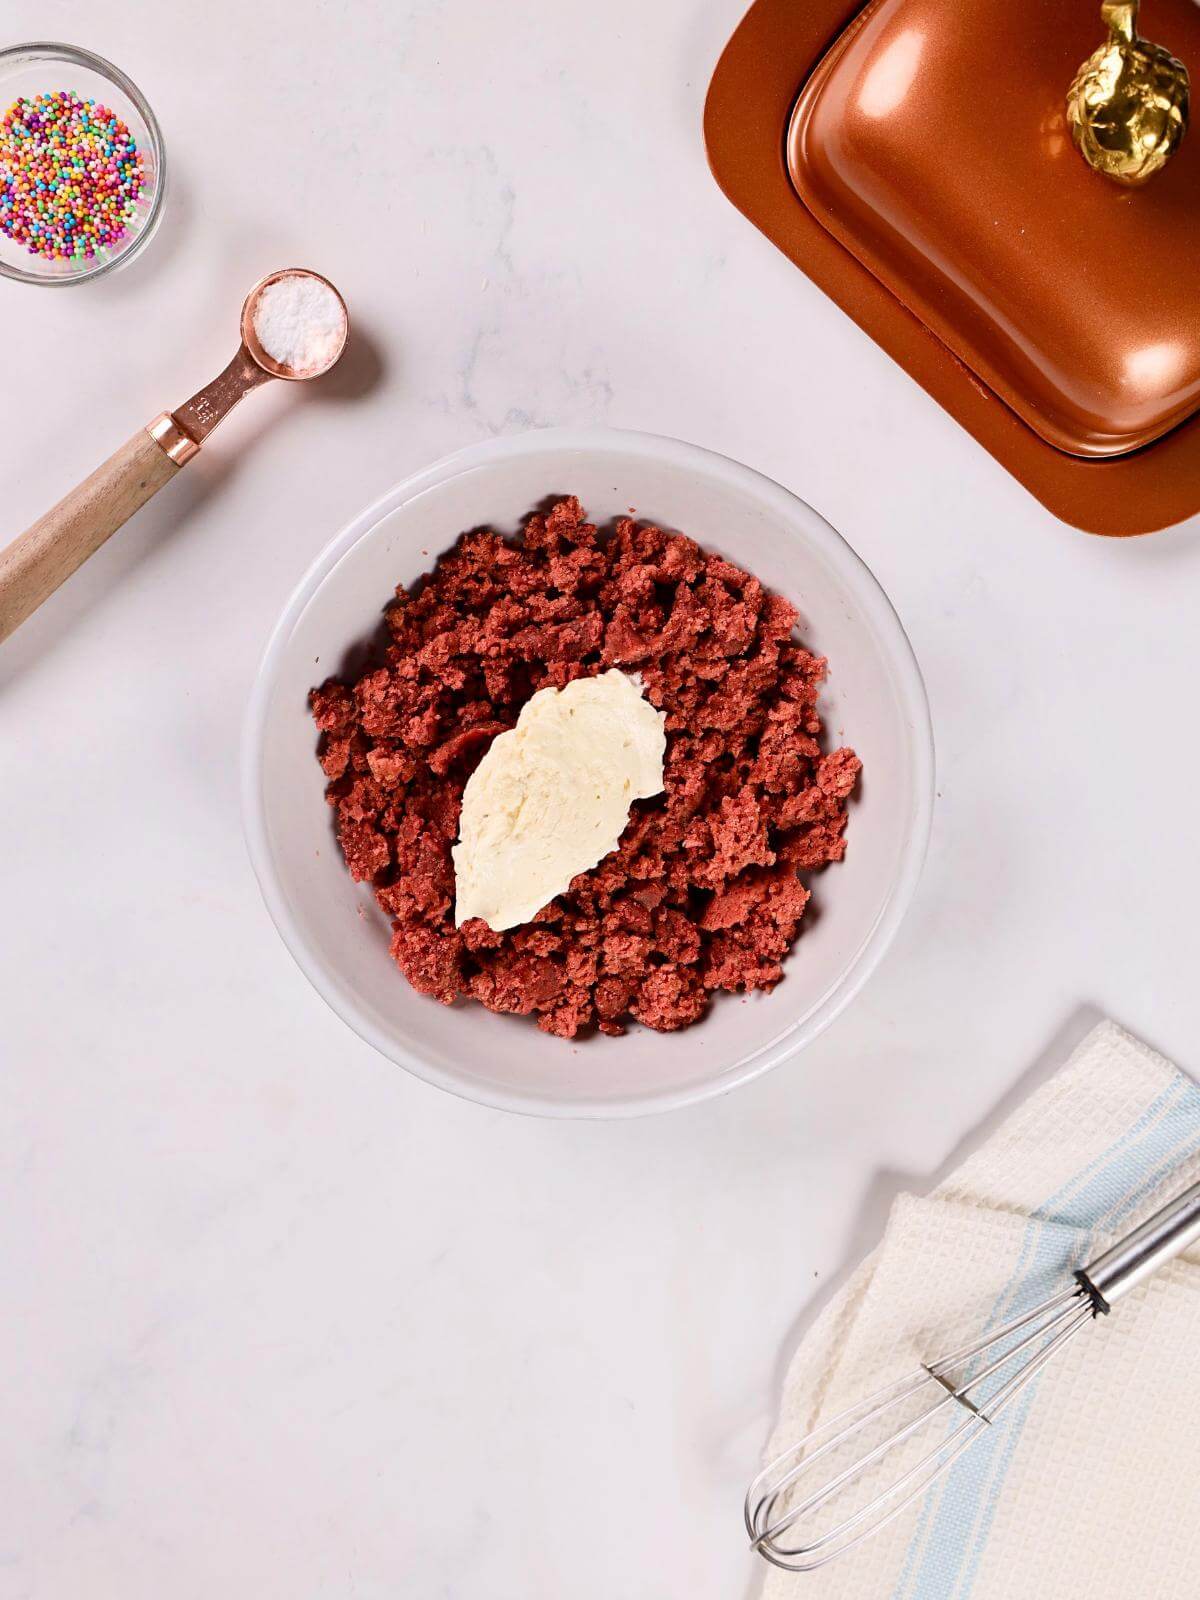
- Add the prepared buttercream to the crumbled cake and mix thoroughly.
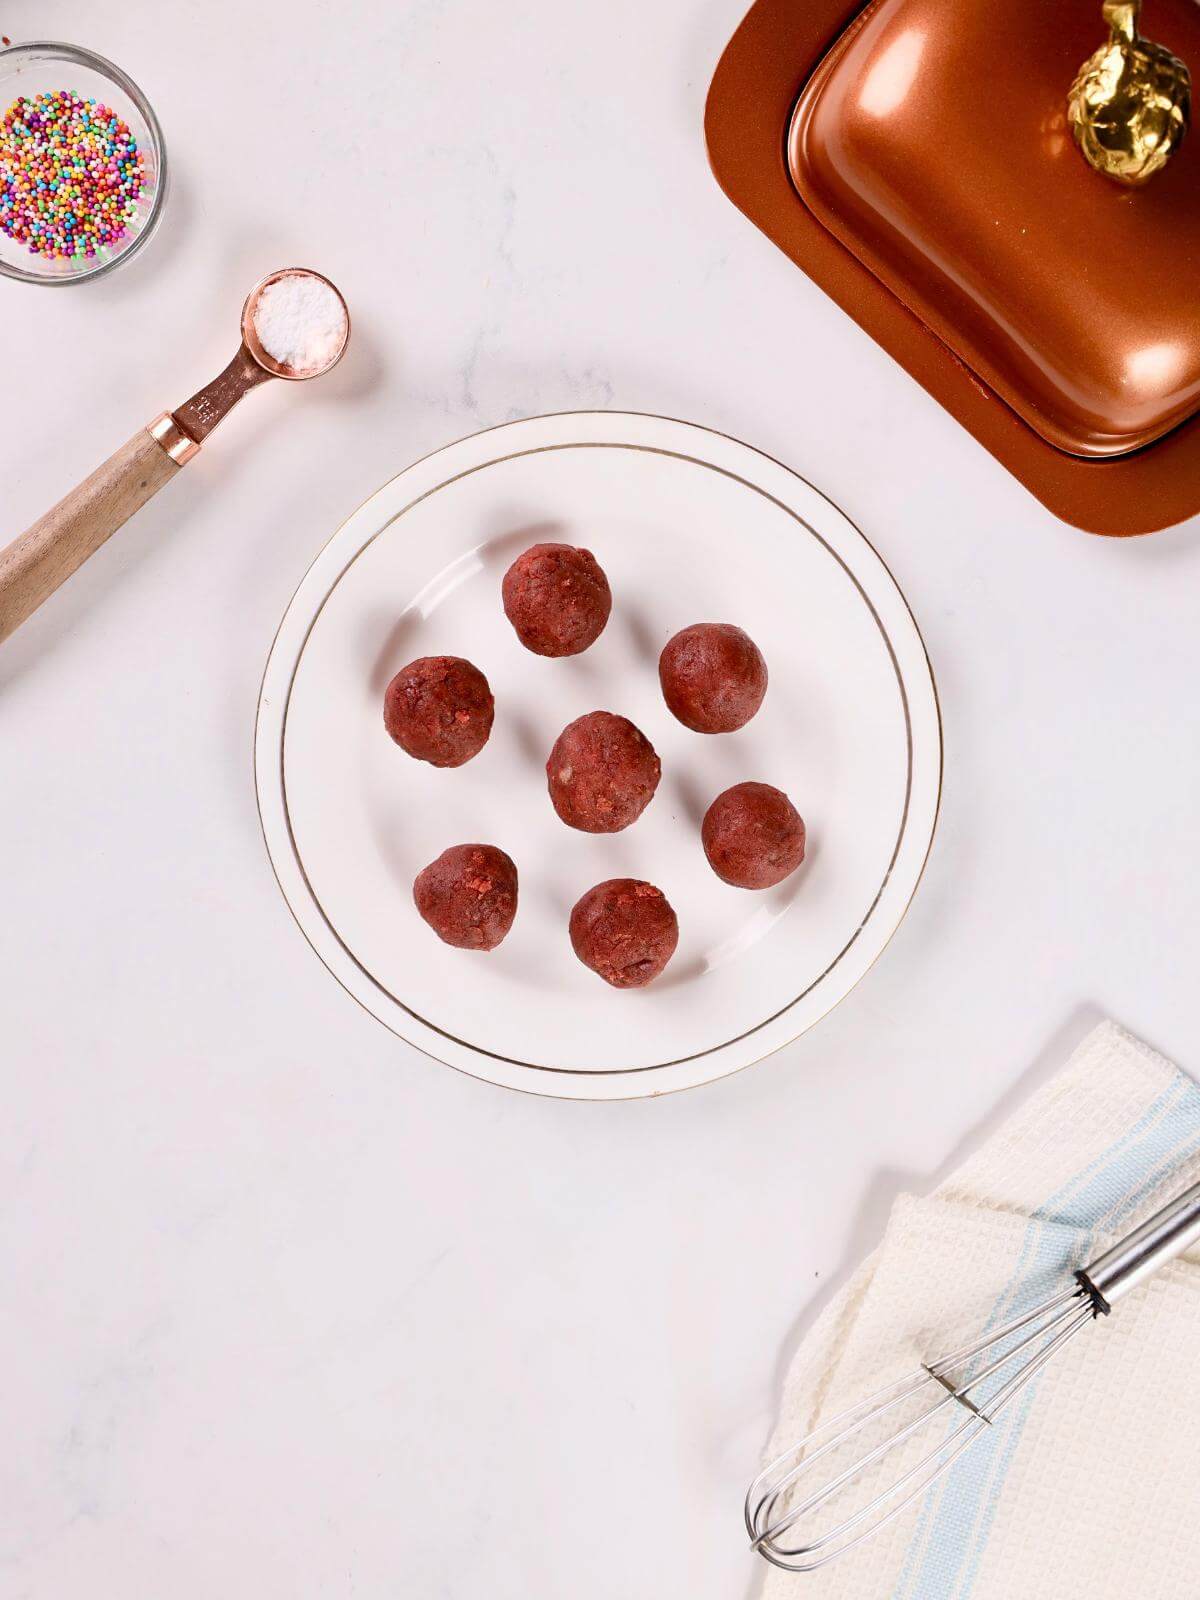
- Use a cookie scoop to portion the mixture and roll it into evenly sized balls.
Assemble the Cake Pops:
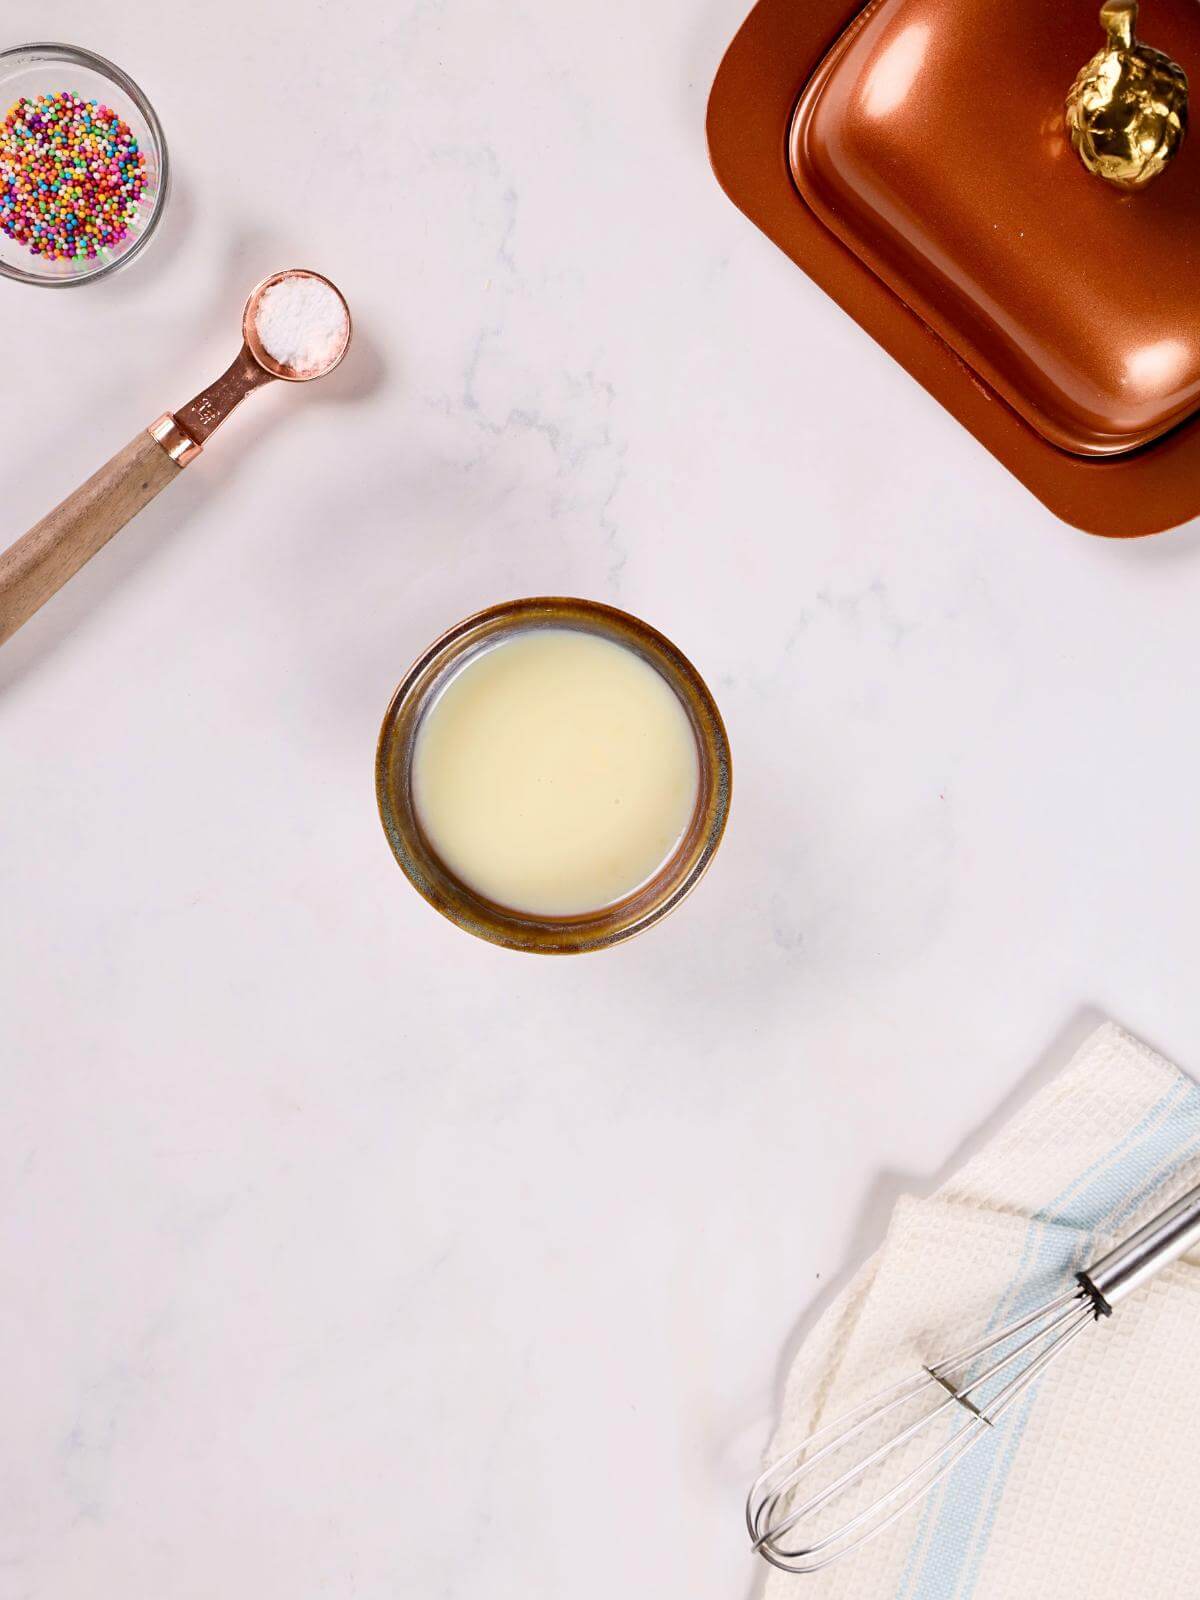
- Melt the white chocolate in a microwave-safe dish in 30-second increments until fully melted and smooth.
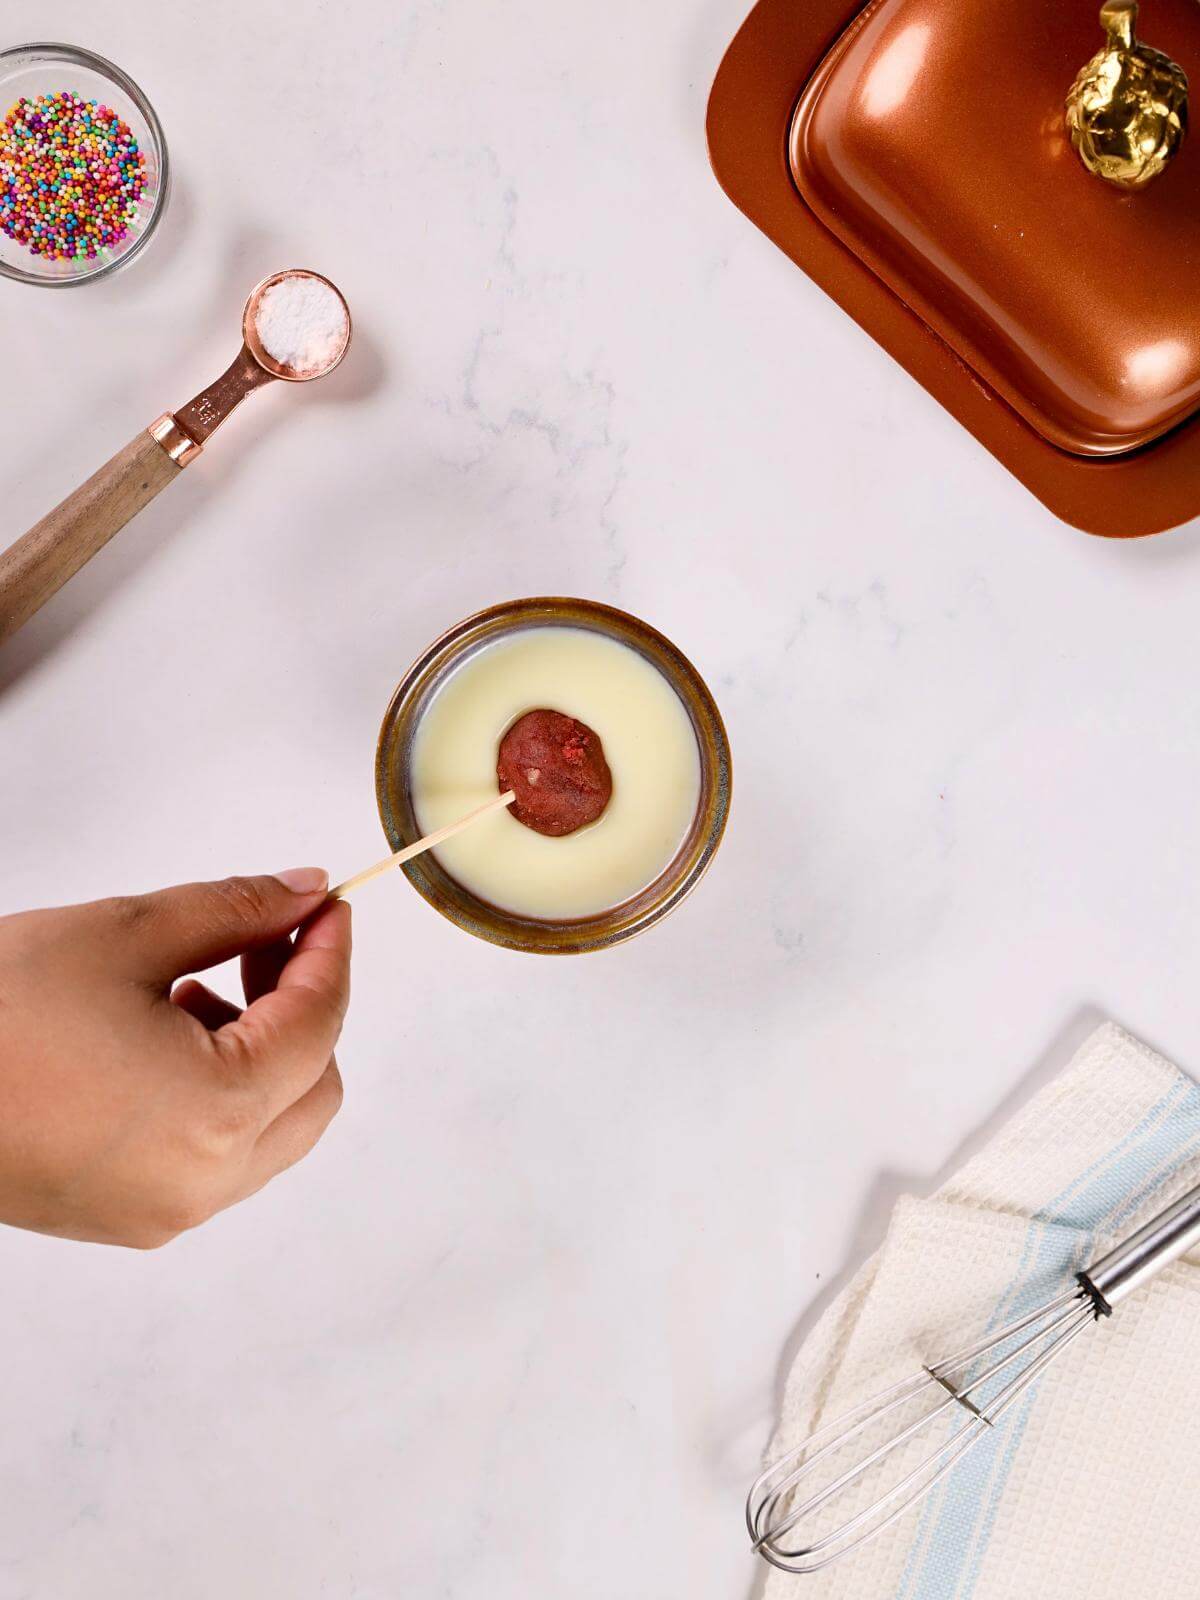
- Dip one end of a wooden stick in melted white chocolate and insert it into each cake ball. Refrigerate for 10 minutes.
- Remove the cake balls from the refrigerator and dip them in melted white chocolate (you will most likely need to re-melt the chocolate).
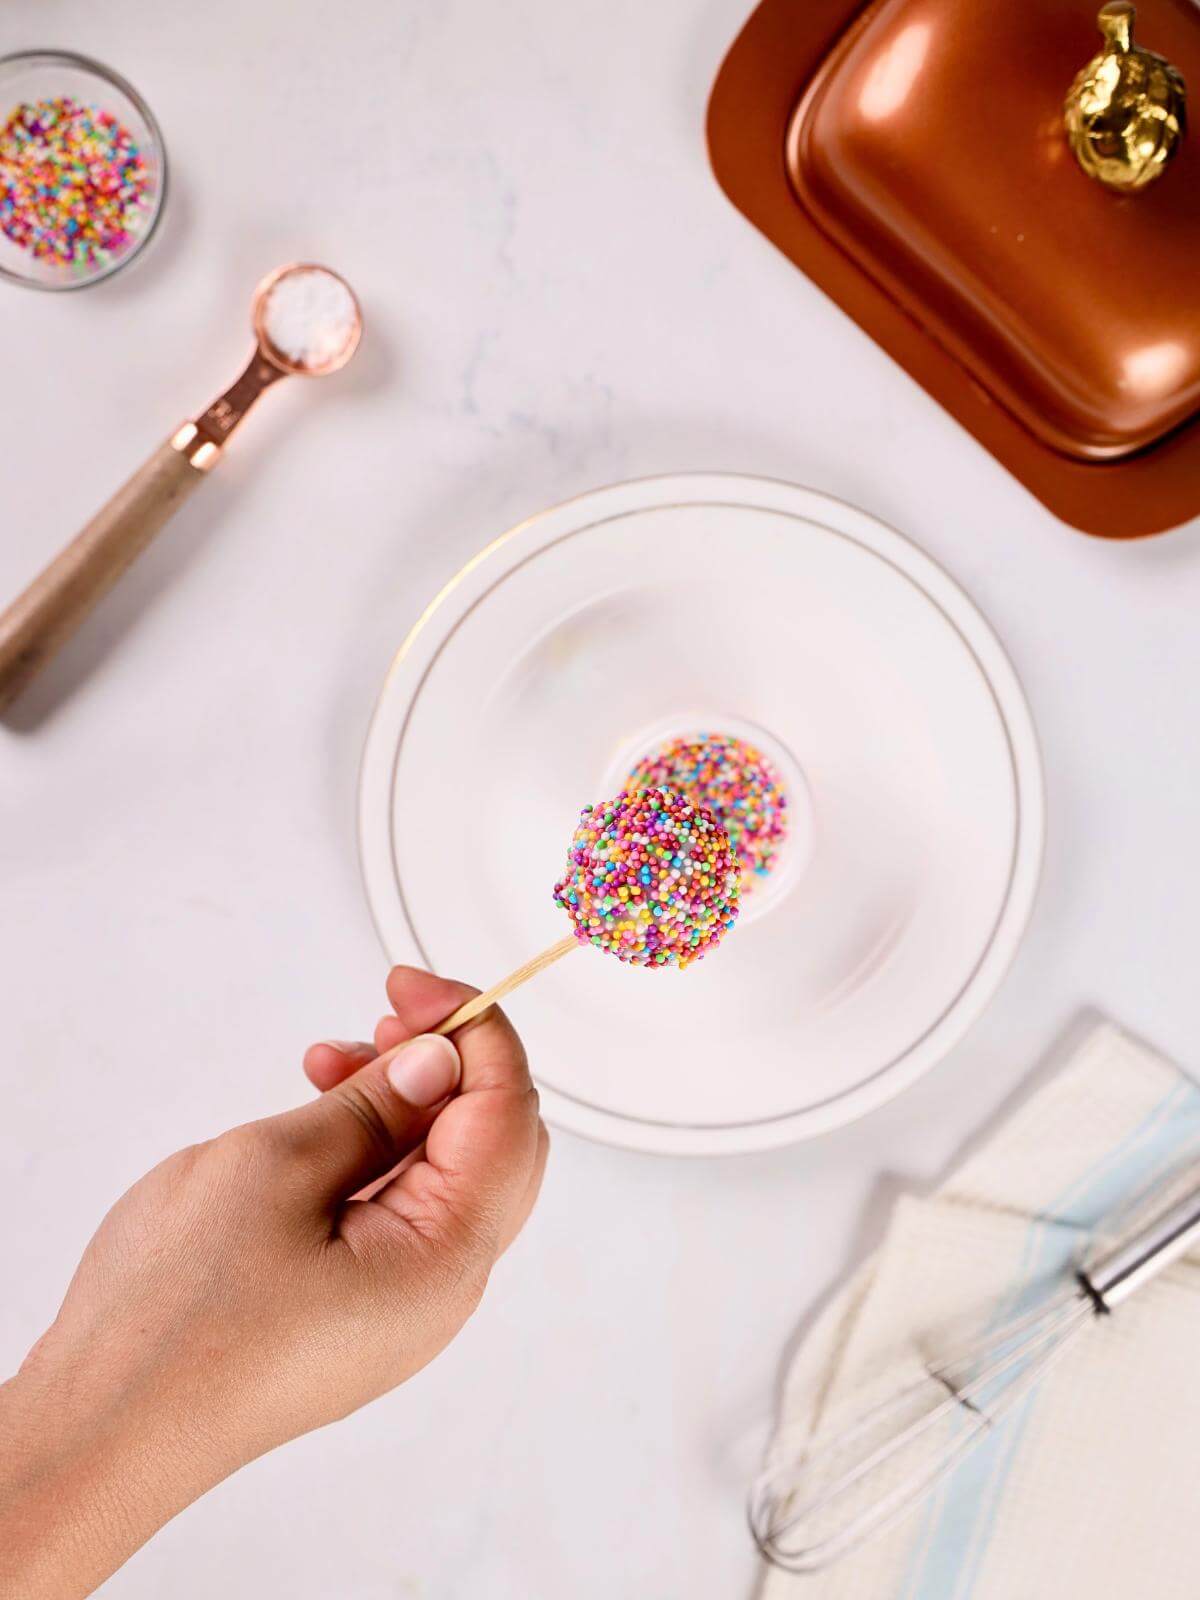
- Garnish immediately with sprinkles. Use a Styrofoam block to hold the cake pops upright.
- Once all the cake pops are coated and decorated, refrigerate for 15 minutes to set.
Time Saving Shortcuts
- Feel free to use a store-bought gluten-free cake mix.
- You can also use store-bought frosting to save time.
- Prepare the cake pops in batches. Make the cake and frosting ahead of time, and assemble the pops later.
Expert Tips
- Use room temperature ingredients for the best results, especially when preparing the buttercream. It ensures everything blends smoothly.
- When making the cake balls, use a cookie scoop for evenly sized small balls. Do not make the ball size too big, or else they will not stay on the stick.
- Dip the end of the stick in melted white chocolate before inserting it into the cake balls. This helps secure the stick.
- Refrigerate the cake balls after inserting the sticks to make the dipping process easier.
- Work quickly when adding sprinkles after dipping the cake pops to ensure they stick.
- Do not overmix the cake mixture, or your cake will not rise and will be dense in texture.
- It is always better to store the cake pops at room temperature. If you refrigerate and store them, then condensation will start appearing on the surface.
- You can use plastic sticks, paper sticks or bamboo/wooden ones. Bamboo/wood is the most sustainable.
Substitutions & Variations
- Replace buttercream with your favorite frosting.
- Experiment with sprinkles, edible glitter, or dairy-free chocolate chips to customize your red velvet cake bites for any theme.
- Use oat milk in order to avoid tree nuts. You can also use regular milk if you are not dairy-free.
️ Serving Suggestions
- Other Valentine’s treats: Valentine’s cookies
- Other party treats: dairy-free birthday cakes
- Party food: dinner party recipes
- More party food: party appetizers
Storage & Reheating
To store: Store cake pops in an airtight container at room temperature for up to 3 days. If refrigerated, wrap individually in plastic wrap to prevent condensation.
To freeze: Freeze the undipped cake balls on a parchment-lined baking sheet until firm. Transfer to a freezer bag or aluminum foil-wrapped cookie sheet for longer storage. Thaw in the refrigerator before dipping. Freezing undipped cake pops is the best option to avoid the chocolate coating from cracking.
To reheat: These treats are best enjoyed at room temperature. Let frozen or refrigerated cake pops sit out for about 15 minutes before serving.
FAQ
Use your hands or a large mixing bowl to break the cooled cake into fine crumbs. A hand mixer can also help achieve an even texture.
This often happens if the cake balls are too large or the sticks aren’t secured with chocolate. Use smaller balls if needed and dip the stick in melted chocolate before inserting.
Yes! Crumble cake from a previous batch to make these fun red velvet truffles on a stick.
Gently tap the stick on the side of the bowl to remove excess chocolate before sticking the pops in a styrofoam block to set.
Yes, a stand mixer can speed up the process of achieving a fluffy frosting texture.
Cake pops can fall apart if there’s not enough frosting to bind the crumbled cake. Skipping the step of chilling the cake balls before dipping can also lead to crumbling. Also, be sure to dip the stick in melted chocolate before inserting it into the cake ball to provide extra stability.
Avoid dipping frozen or very cold cake pops, as this can cause them to crack after dipping. Only chill them for 10 minutes before dipping.
More Yummy Recipes
If you love easy recipes for serving at parties, you’ll also love this avocado fries recipe.
Please comment and rate below if you loved this recipe, and don’t forget to share with friends and family!
Join Substack for a FREE meal plan and gluten free chat!
Easy Red Velvet Cake Pops for Valentine’s Recipe
Equipment
- 10 Cake Pop Sticks
- Electric Hand Mixer
Ingredients
For the Red Velvet Cake
- ¼ c Gluten free flour we use King Arthur measure for measure
- 2 tbsp Sugar
- 1 tsp Cocoa powder
- ¼ tsp Baking powder
- 5 tbsp Milk we used almond milk
- ½ tsp Apple cider vinegar
- 1.5 tbsp Butter (melted) we used Earth Balance vegan butter
- 1 tsp Red food coloring we used Whole Foods plant based food coloring
For the Buttercream
- ¼ c Powdered sugar
- 3 tbsp Butter
- 1 tbsp Milk we used almond milk
- 1 tsp Vanilla extract
For the Cake Pops
- Prepared red velvet cake
- 2 tbsp Prepared buttercream
- White chocolate (melted)
- Sprinkles to garnish
Instructions
Make the Cake:
- Preheat your oven to 350°F. Combine all the ingredients in a bowl until the mixture reaches a thick consistency.1/4 c Gluten free flour, 2 tbsp Sugar, 1 tsp Cocoa powder, 1/4 tsp Baking powder, 5 tbsp Milk, 1/2 tsp Apple cider vinegar, 1.5 tbsp Butter (melted), 1 tsp Red food coloring
- Pour the batter into a greased 9×13 inch pan and bake for 15-20 minutes or until a toothpick inserted in the center comes out clean.
Make the Buttercream:
- Use an electric hand mixer to whip the butter in a bowl.3 tbsp Butter
- Gradually add powdered sugar and whip until smooth.1/4 c Powdered sugar
- Mix in the milk and vanilla extract, whisking until the frosting is creamy.1 tbsp Milk, 1 tsp Vanilla extract
Make the Cake Balls:
- After the cake is baked, allow it to cool to room temperature.Prepared red velvet cake
- Crumble the cooled cake into a large mixing bowl.
- Add the prepared buttercream to the crumbled cake and mix thoroughly.2 tbsp Prepared buttercream
- Use a cookie scoop to portion the mixture and roll it into evenly sized balls.
Assemble the Cake Pops:
- Melt the white chocolate in a microwave-safe dish in 30-second increments until fully melted and smooth.White chocolate (melted)
- Dip one end of a cake pop stick in melted white chocolate and insert it into each cake ball. Refrigerate for 10 minutes.
- Remove the cake balls from the refrigerator and dip them in melted white chocolate (you will most likely need to re-melt the chocolate).
- Garnish immediately with sprinkles. Use a Styrofoam block to hold the cake pops upright.Sprinkles
- Once all the cake pops are coated and decorated, refrigerate for 15 minutes to set.
Notes
- Feel free to use a store-bought gluten-free cake mix.
- You can also use store-bought frosting to save time.
- Use a cookie scoop for evenly sized small balls. Do not make the ball size too big, or else they will not stay on the stick.
- Dip the end of the stick in melted white chocolate before inserting it into the cake balls. This helps secure the stick.
- Work quickly when adding sprinkles after dipping the cake pops to ensure they stick.
- It is always better to store the cake pops at room temperature. If you refrigerate and store them, then condensation will start appearing on the surface.
- Use oat milk in order to avoid tree nuts. You can also use regular milk if you are not dairy-free.
- You can use plastic sticks, paper sticks or bamboo/wooden ones.